Googleフォームをカスタマイズ+reCAPTCHAv3導入
概要
先日納品した案件で、
- Google フォームをカスタマイズ(オリジナルデザイン)
- GAS で自動メール送信
- 更に reCAPCHAv3 を導入
- フォーム送信後はページ遷移しない
という要件でフォームを作成しました。今後も実装することがあるかもしれないので、まとめます。
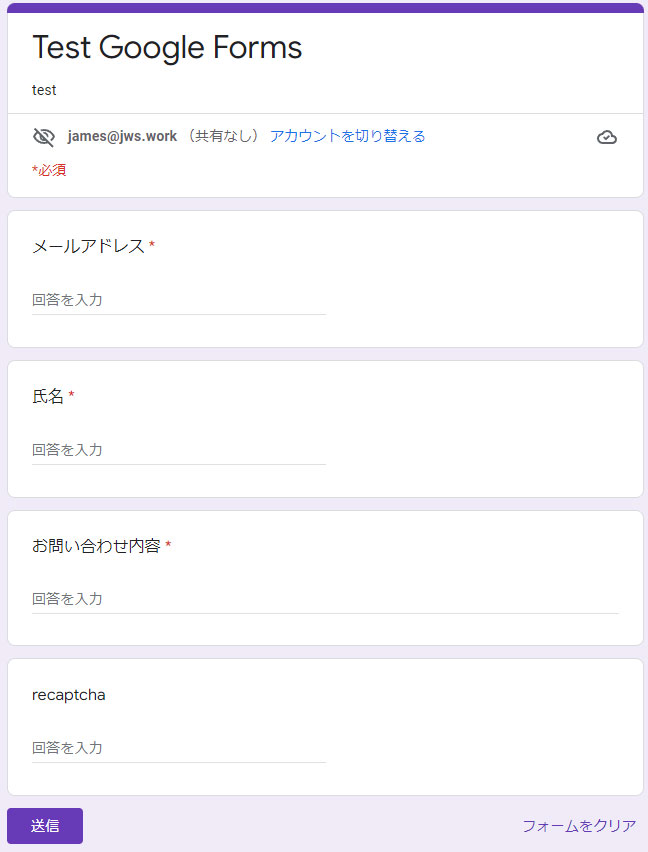
まずは GoogleForm を作成
GoogleForm を作成し、デベロッパーツールで必要な情報を取得します。
formからはactionの値を取得します。
以下の例だとhttps://docs.google.com/forms/u/0/d/e/1FAIpQLSdy0e3RjxHOkLv-qIXtLED3k3Fy5wZwCUAh1PSnNYNzrOJ9TQ/formResponseです。
<form
  action="https://docs.google.com/forms/u/0/d/e/1FAIpQLSdy0e3RjxHOkLv-qIXtLED3k3Fy5wZwCUAh1PSnNYNzrOJ9TQ/formResponse"
  target="_self"
  method="POST"
  id="mG61Hd"
  jsmodel="TOfxwf Q91hve CEkLOc"
  data-shuffle-seed="3953797017996089640"
  data-response="%.@.[]]"
  data-first-entry="0"
  data-last-entry="4"
  data-is-first-page="true"
></form>
続いて各種入力の input からは、data-paramsの中の数字を取得します。
以下の例だと2012856439が必要な数字です。(1625842955は使いません。)
<div
  jsmodel="CP1oW"
  data-params='%.@.[1625842955,"メールアドレス",null,0,[[2012856439,[],true,[],[],null,null,null,null,null,[null,[]]]],null,null,null,[],null,null,[null,"メールアドレス"]],"i1","i2","i3",false]'
></div>
reCAPCHAv3 の設定
続いて、reCAPCHAv3 の key を取得します。
こちらのページhttps://www.google.com/recaptcha/admin/createから作成します。
- ラベル → 好きな名前を入力
- reCAPTCHA タイプ →
reCAPTCHA v3を選択 - ドメイン → ドメインと、
localhostでテストする場合はlocalhostを入力(本番公開の前にlocalhostは要削除)
作成後に出てくるサイトキーとシークレットキーは使うので、メモしておくこと。
HTML の作成
事前準備は整ったので、HTML を作成します。
GoogleForm で準備した入力欄data-paramsの数字は各種 input のnameにentry.数字の形で対応したものを入力する。
<div class="bl_contact">
  <!-- Google Formのactionの値を入力 -->
  <!-- targetにダミーのiframeを指定 -->
  <form
    action="https://docs.google.com/forms/u/0/d/e/xxxxxxxxxxxx/formResponse"
    class="bl_form"
    method="post"
    name="customForm"
    target="dummyIframe"
  >
    <div class="bl_form_wrap">
      <div class="bl_form_item">
        <label for="inputMail">メールアドレス <em>*</em></label>
        <!-- nameにの値はGoogleFormから取得 -->
        <input
          id="inputMail"
          name="entry.123456789"
          required
          placeholder="example@mail.com"
          type="email"
        />
      </div>
      <div class="bl_form_item">
        <label for="inputName">氏名 <em>*</em></label>
        <!-- nameにの値はGoogleFormから取得 -->
        <input
          id="inputName"
          name="entry.123456789"
          required
          placeholder="例)山田 太郎"
        />
      </div>
      <div class="bl_form_item">
        <label for="inputMessage">お問い合わせ内容 <em>*</em></label>
        <!-- nameにの値はGoogleFormから取得 -->
        <textarea
          id="inputMessage"
          name="entry.123456789"
          placeholder="お問い合わせ内容を入力"
          required
        ></textarea>
      </div>
      <div class="bl_form_item">
        <label>
          <input
            id="js-agree"
            name="agree"
            required
            type="checkbox"
            value="1"
          />
          <span
            >個人情報の取り扱いに関しては<a href="./privacy/"
              >プライバシーポリシー</a
            >をお読みいただき、同意のうえお問い合わせください。</span
          >
        </label>
        <p>※当フォームをご利用の際には、ご同意いただく必要があります。</p>
      </div>
    </div>
    <div class="bl_form_button">
      <button class="bl_form_send" type="submit">送信</button>
    </div>
    <!-- nameにの値はGoogleFormから取得 -->
    <!-- data-sitekeyにreCAPTCHAのsitekeyを入力 -->
    <input
      id="recap"
      name="entry.123456789"
      type="hidden"
      value=""
      data-sitekey="yyyyyyyyyyyyyyyyyyyyyy"
    />
  </form>
  <!-- 送信後、遷移させないためのiframeを用意 -->
  <iframe name="dummyIframe" style="display:none"></iframe>
  <!-- 送信完了後のメッセージ -->
  <div class="bl_form_message">
    <p>お問い合わせの送信が完了しました。</p>
    <p>この度はお問い合わせをいただきまして、誠にありがとうございます。</p>
    <p>
      お問い合わせ内容を確認しまして、担当者よりご連絡をさせていただきます。
    </p>
    <p>今しばらくお待ちくださいませ。</p>
  </div>
</div>headで reCAPCHA の JS を読み込むのも忘れずに
<!-- xxxxxxxxxxxxにはreCAPTCHAのsitekeyを入力 -->
<script src="https://www.google.com/recaptcha/api.js?render=xxxxxxxxxxxx"></script>
submit 時のフォームの挙動
submit 時の挙動は js で制御します。
const key = $('#recap').attr('data-sitekey'); // reCAPTCHAのsitekeyを取得

$('.bl_form').on('submit', function (e) {
  e.preventDefault(); //sumitを止める
  grecaptcha.ready(function () {
    grecaptcha.execute(key, { action: 'submit' }).then(function (token) {
      //recapchaを実行
      $('#recap').val(token); //戻り値tokenを#recapに格納
      $('.bl_form').unbind('submit').submit(); //formをsubmit
      $('.bl_form_message').show(); //送信後メッセージを表示
    });
  });
});
GAS の設定
フォームの設定に合わせて GAS で、メールの自動送信と reCAPTCHA のチェックを行います。
reCAPTCHA が問題ないときのみメールを送信します。
// reCAPTCHAのシークレットキー
const secret = 'xxxxxxxxxxxxxxxxxxxxxx';

function verifyCaptcha(arg) {
  const payload = { secret, response: arg }; // reCAPTCHAのシークレットキー// reCAPTCHAのシークレットキー
  const url = 'https://www.google.com/recaptcha/api/siteverify';
  const resp = UrlFetchApp.fetch(url, {
    payload,
    method: 'POST',
  }).getContentText();
  return JSON.parse(resp).success; //recapchaが成功したかboolで返す
}

function submitForm(e) {
  const itemResponses = e.response.getItemResponses();
  let userMail;
  let userName;
  let userMessage;
  let recaptcha;
  let body1;
  let body2;
  let subject;

  // フォームの入力内容を格納
  for (let i = 0; i < itemResponses.length; i++) {
    const question = itemResponses[i].getItem().getTitle();
    const answer = itemResponses[i].getResponse();
    if (question === 'メールアドレス') userMail = answer;
    if (question === '氏名') userName = answer;
    if (question === 'お問い合わせ内容') userMessage = answer;
    if (question === 'recaptcha') recaptcha = answer;
  }

  const resp = verifyCaptcha(recaptcha); //recapchaの値をチェック

  //reCAPTCHAが成功した場合
  if (resp) {
    // 自動返信メール
    subject = 'お問い合わせ内容確認';
    body1 =
      'お問い合わせの送信が完了しました。\n' +
      '受付内容' +
      '\nメールアドレス:' +
      userMail +
      '\n氏名:' +
      userName +
      '\nお問い合わせ内容:' +
      userMessage;

    GmailApp.sendEmail(userMail, subject, body1, {
      name: 'JWS',
    });

    // 通知メール
    subject = 'お問い合わせ受付完了メール';
    body2 =
      'サイトから問い合わせがありました。\n\n' +
      '受付内容' +
      '\n メールアドレス ' +
      userMail +
      '\n 氏名:' +
      userName +
      '\n 問い合わせ内容:' +
      userMessage;

    GmailApp.sendEmail('xxxx@gmail.com', subject, body2, {
      name: 'JWS',
    });
  }
}
まとめ
簡単なようで、結構準備も必要なため実装に時間が掛かるかなと思います。
Google フォームの見た目を自由に変更できることで、Web サイトに埋め込むフォームとしての使い道がグッと広がるのではないかと思います。
ただ、GoogleForm の仕様変更があった場合、動作しなくなってしまうので、致命的な点もあります。。
LP など簡易なサイトなら問題ないかと思います。
参考サイト
以下のページを参考にさせていただきました。